Box-Cutter CAD
Overview:
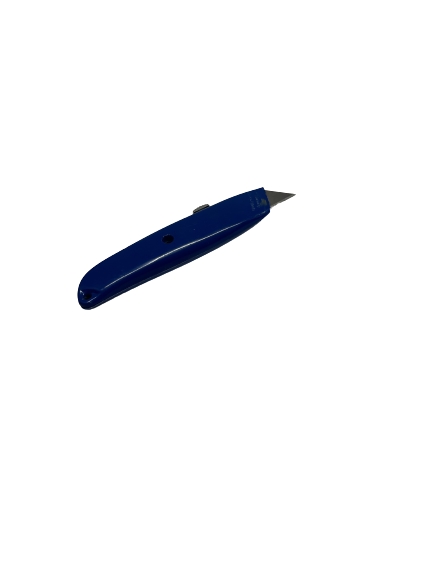
For my other household object, I wanted to create box-cutters as I thought it would be interesting to make the shape of the case and make the assembly with the blade etc.
Design:
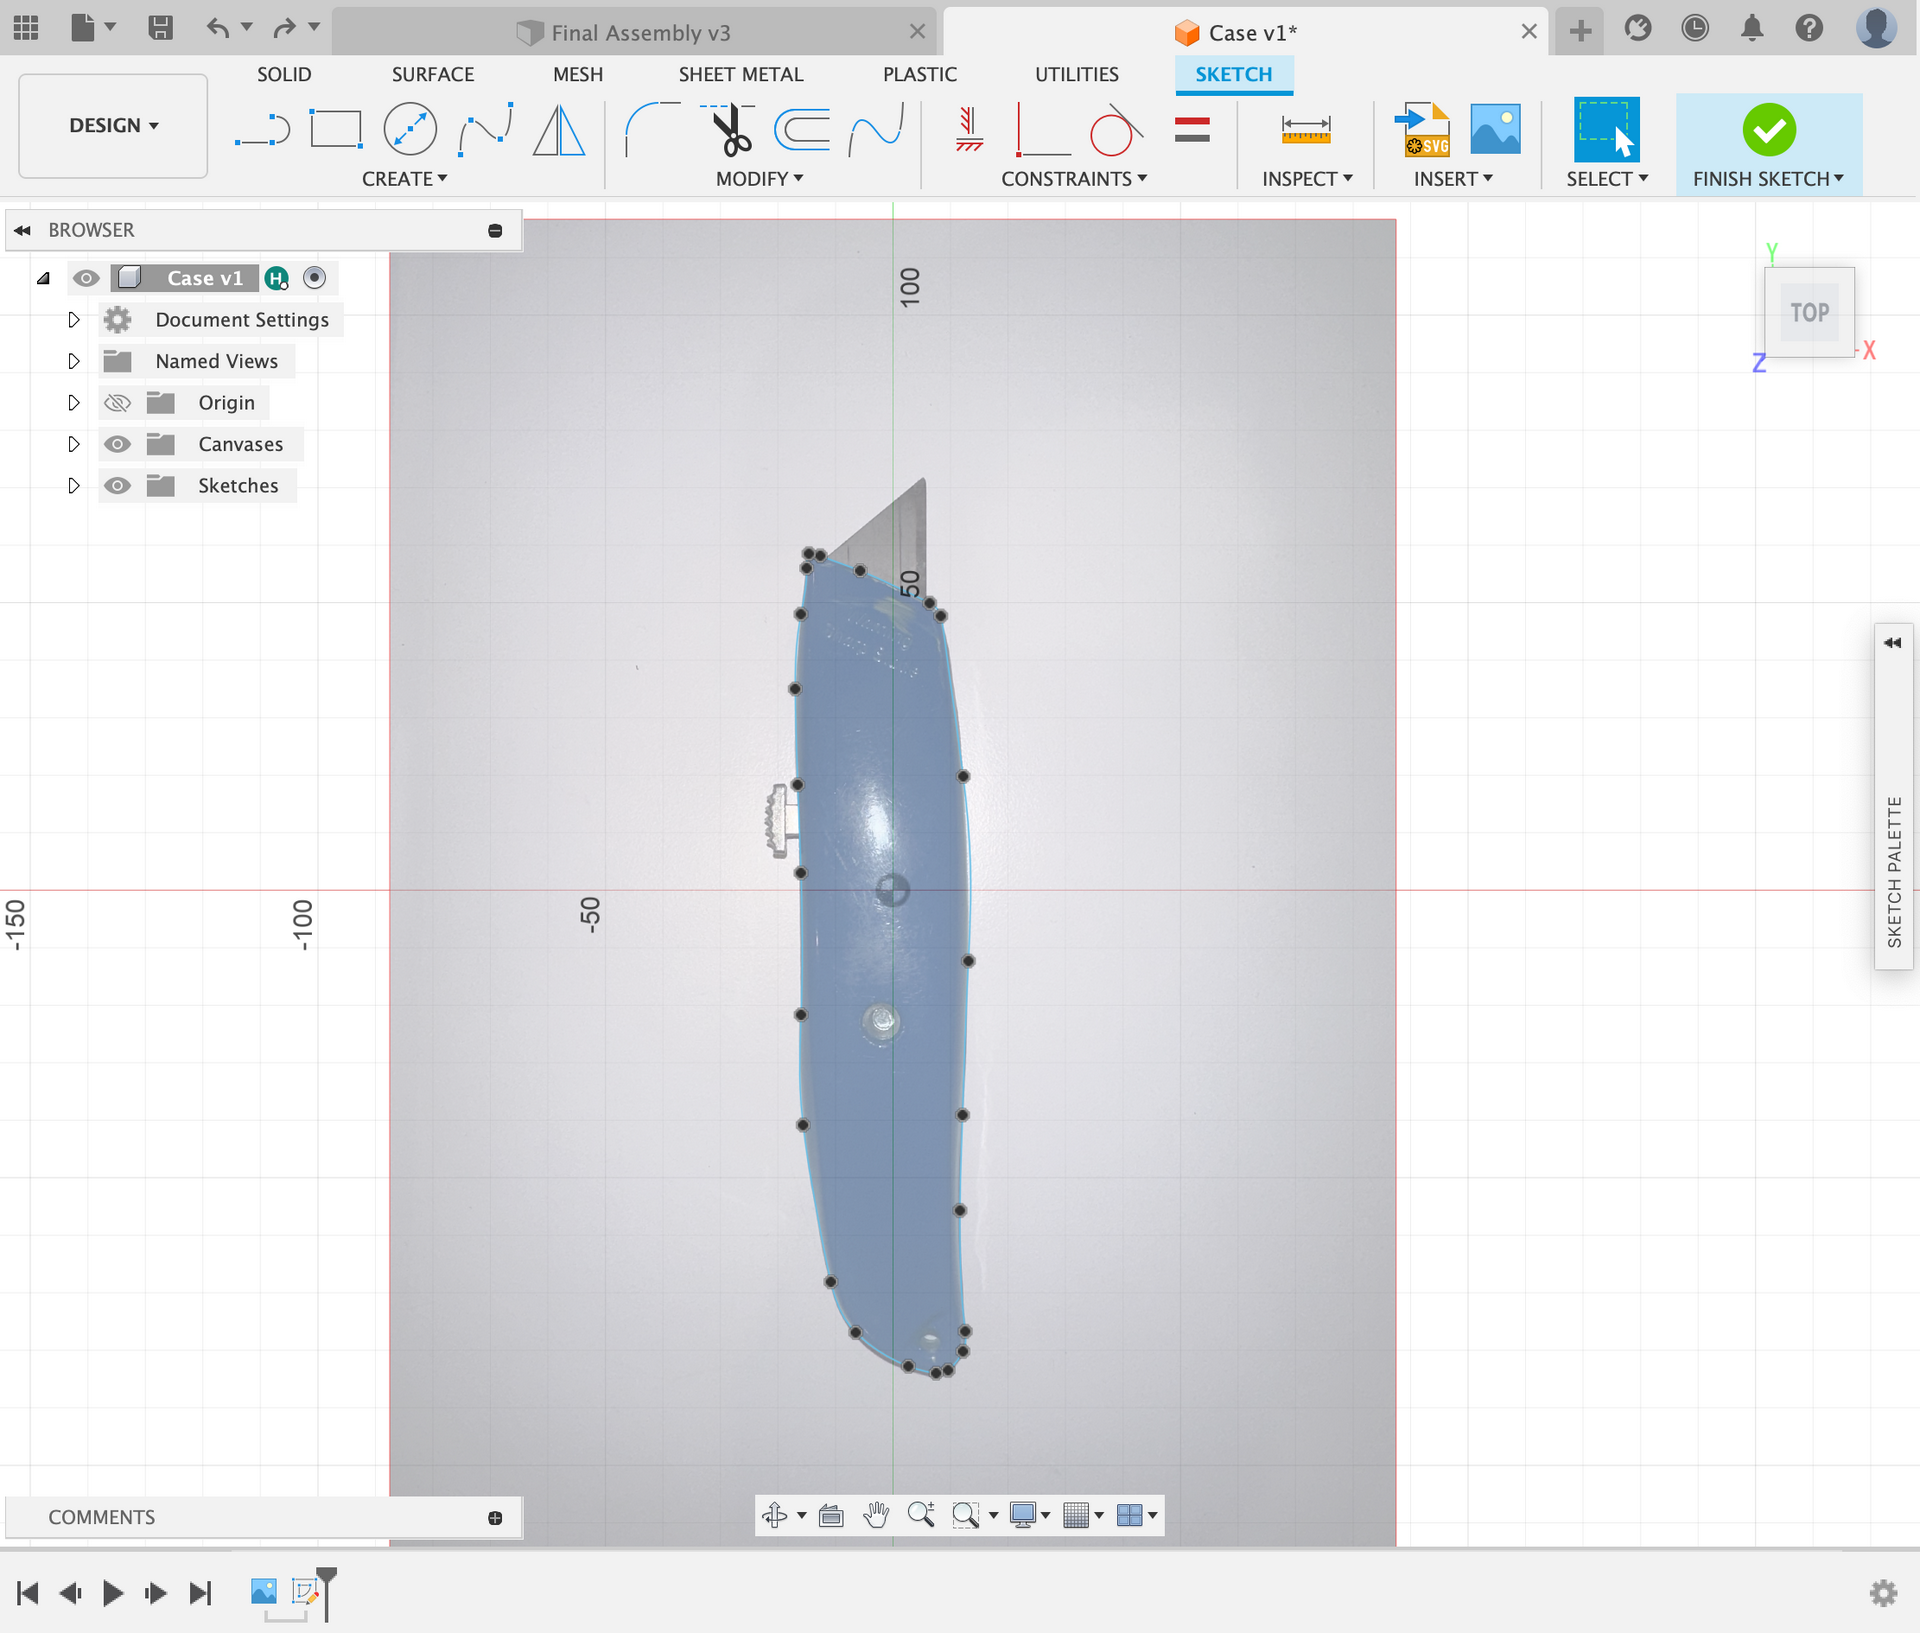
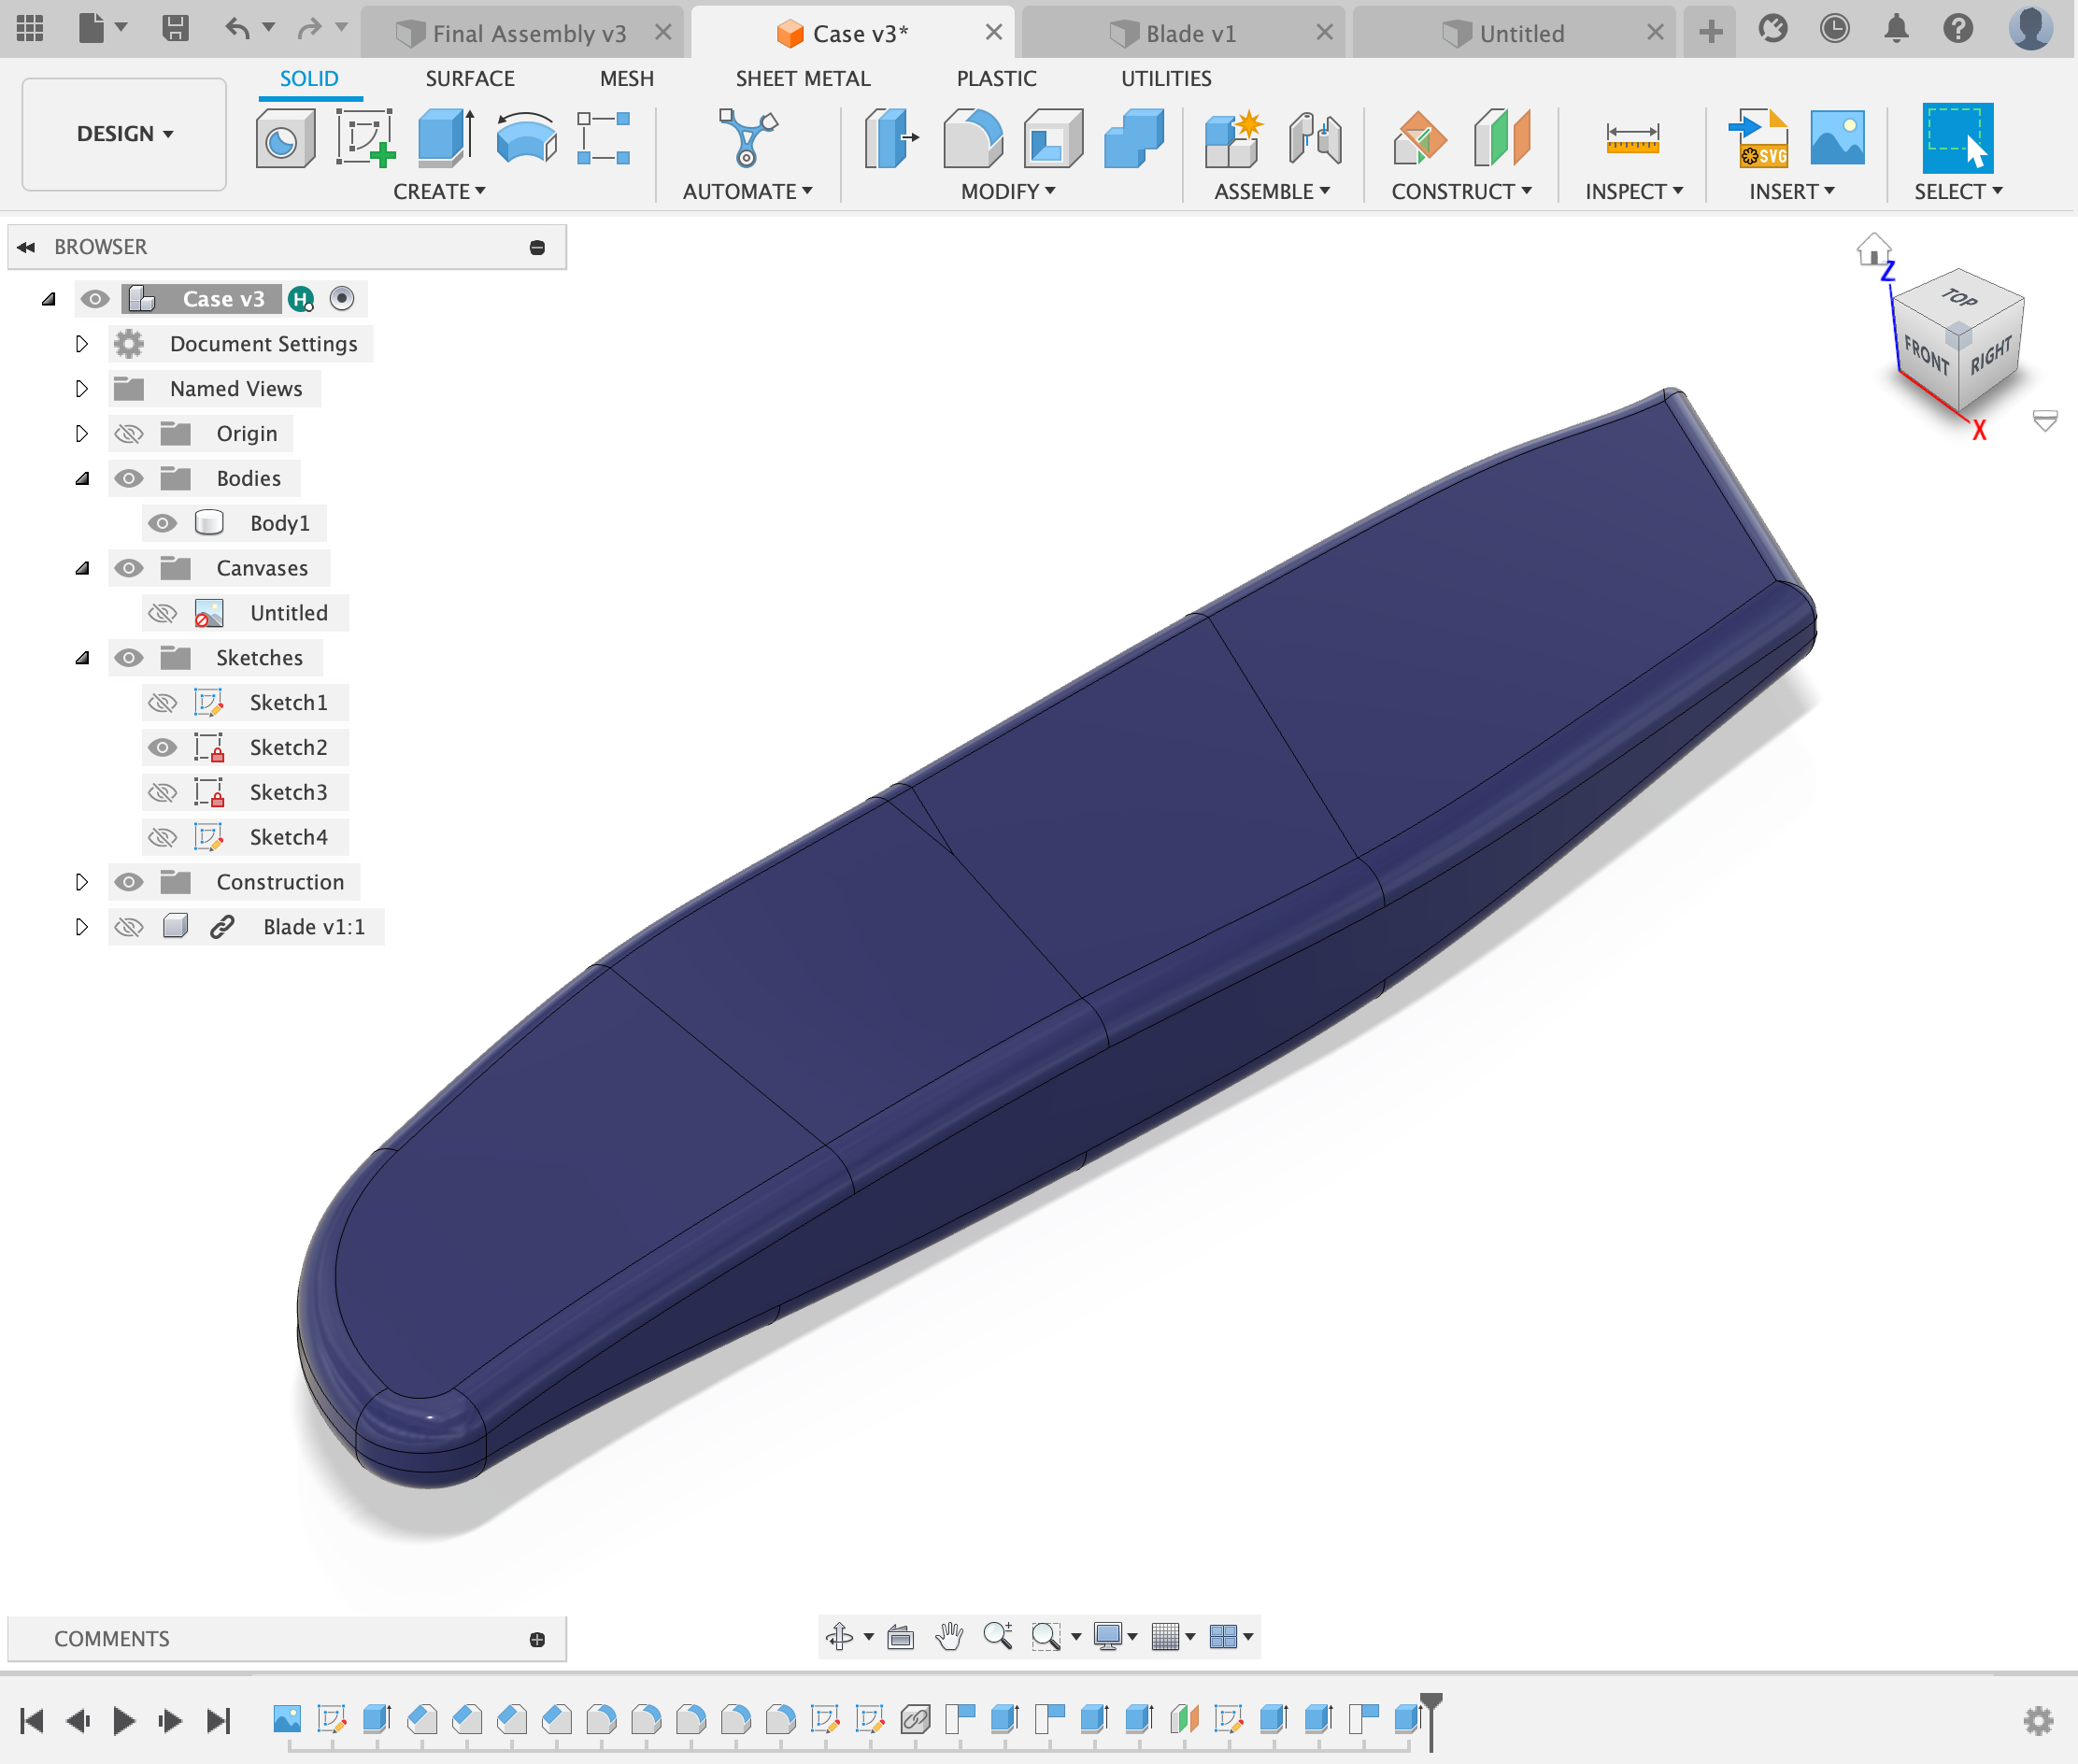
I started by designing the case of the cutters, as it was an odd shape, I opted to take a picture of the case from above, import it into Fusion 360 and trace it. Once I had the case traced, I would be able to extrude the case and fillet the edges to get a more rounded shape.
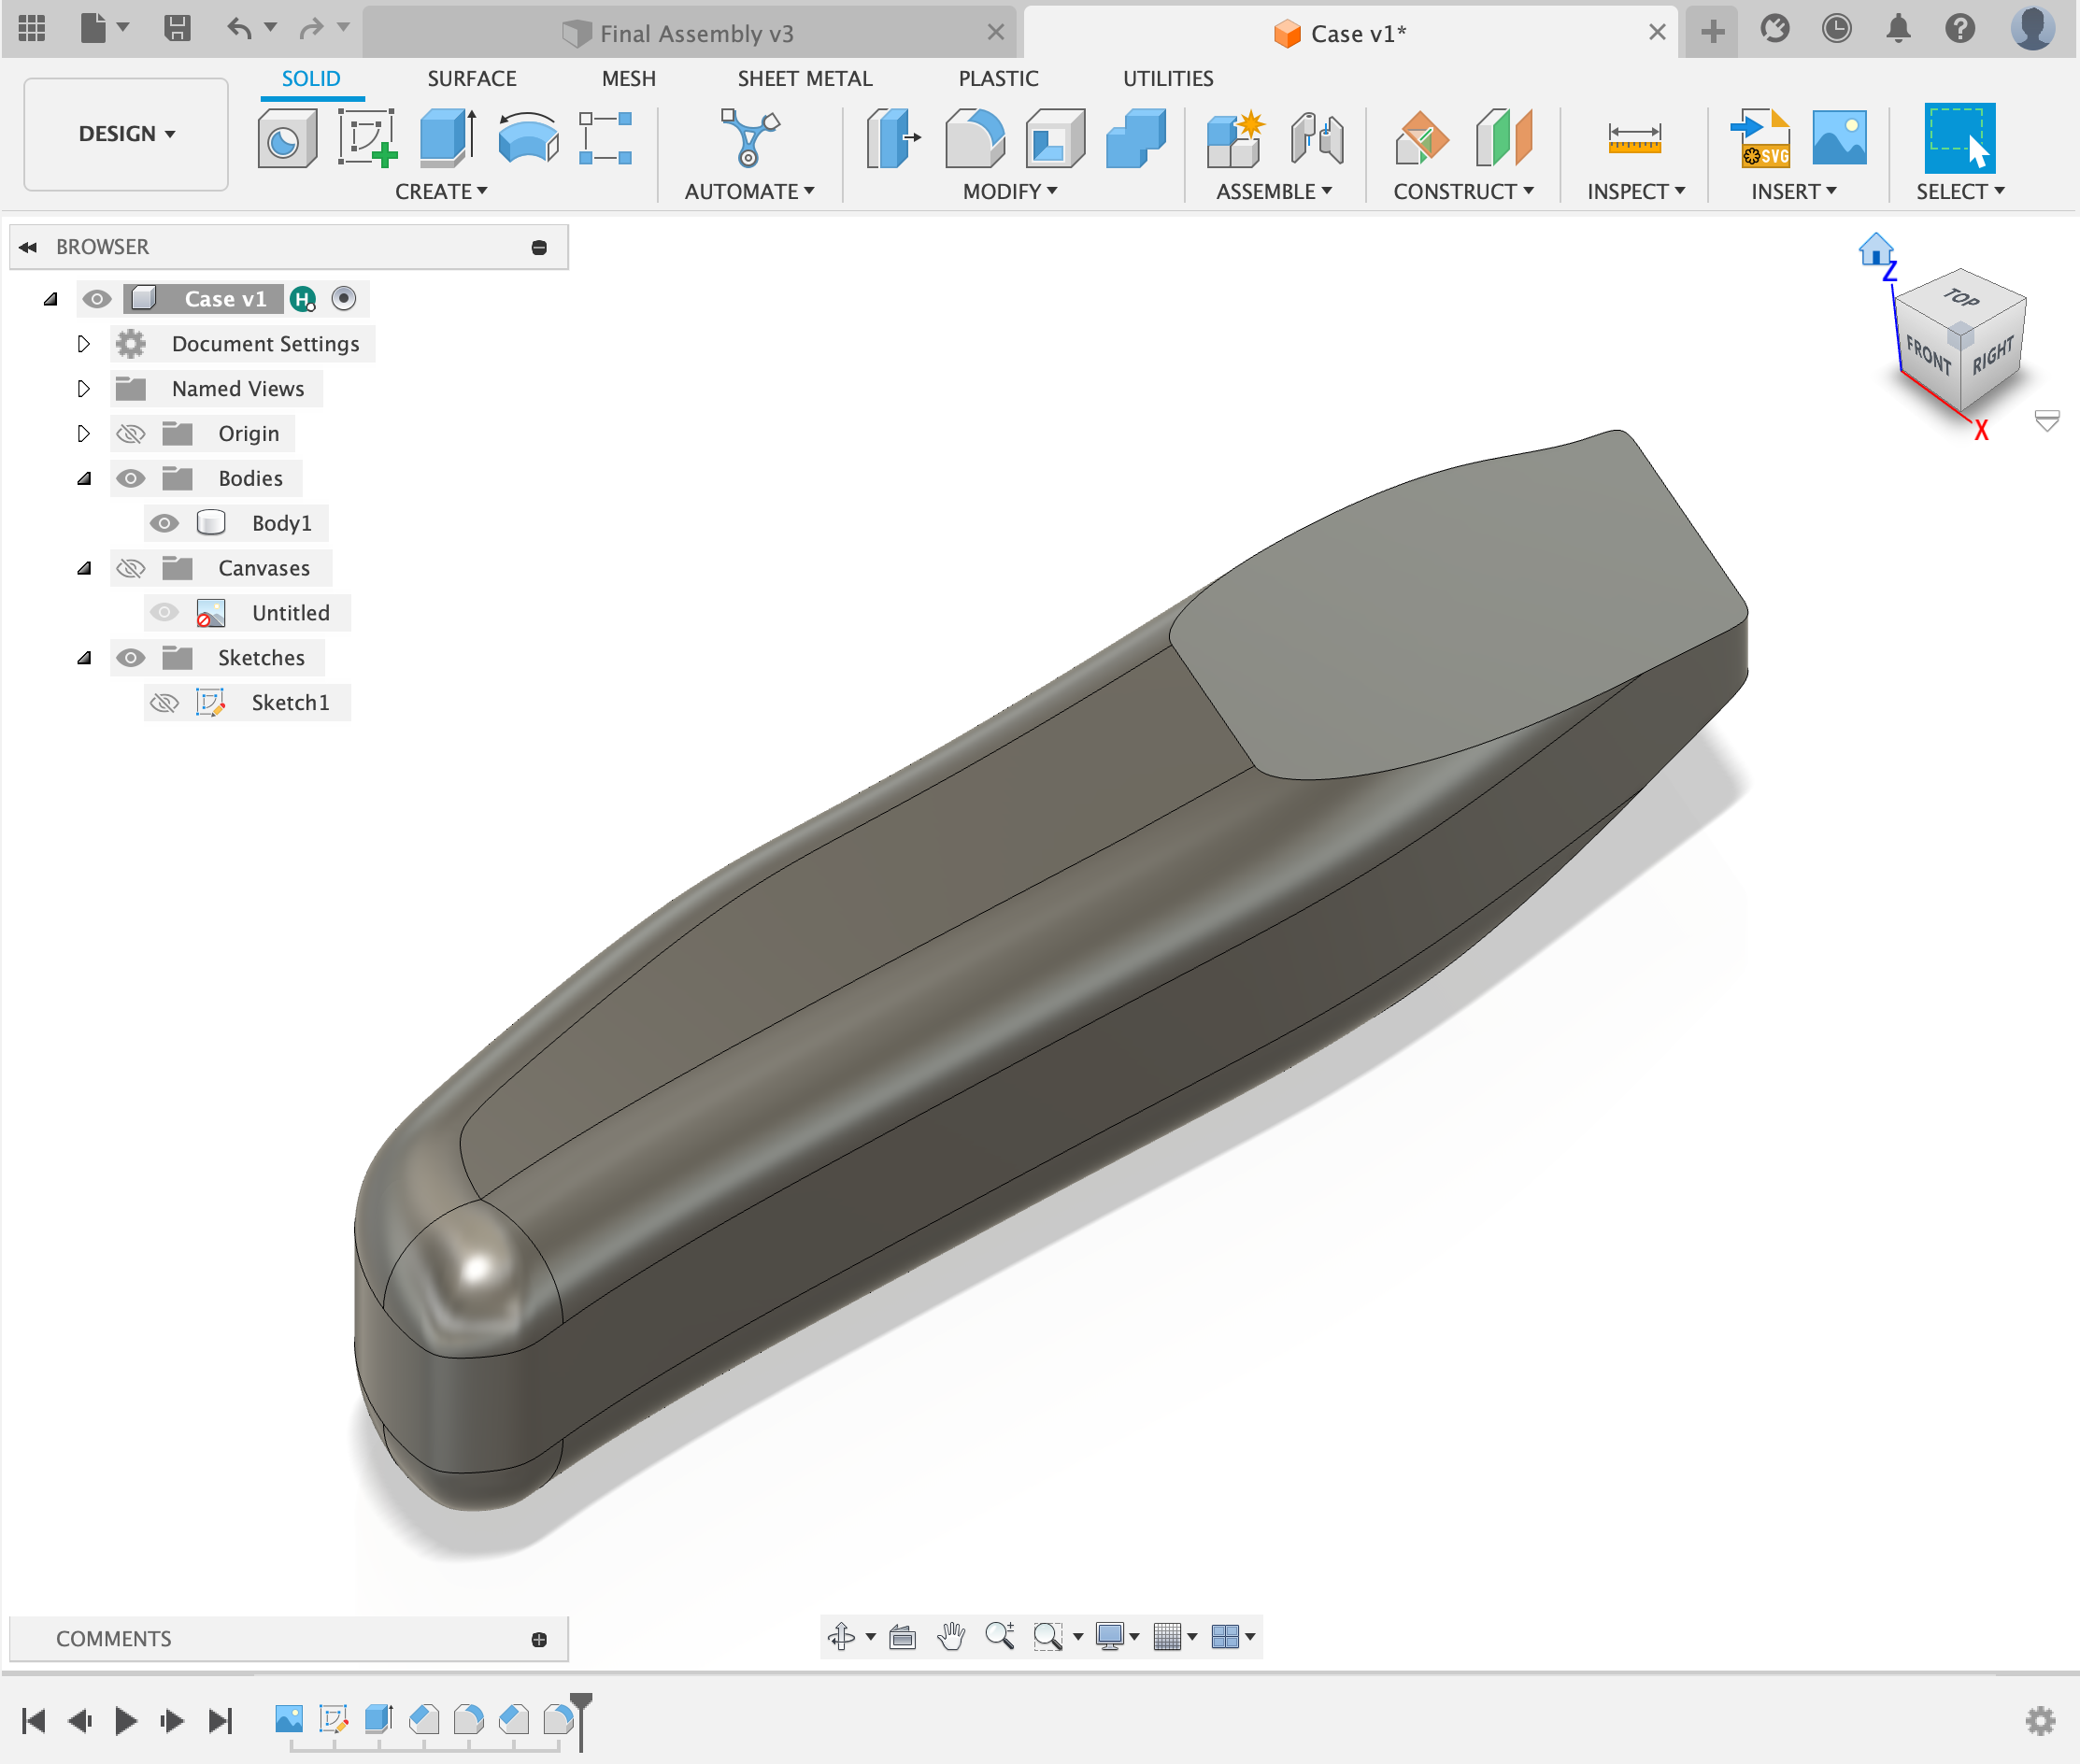
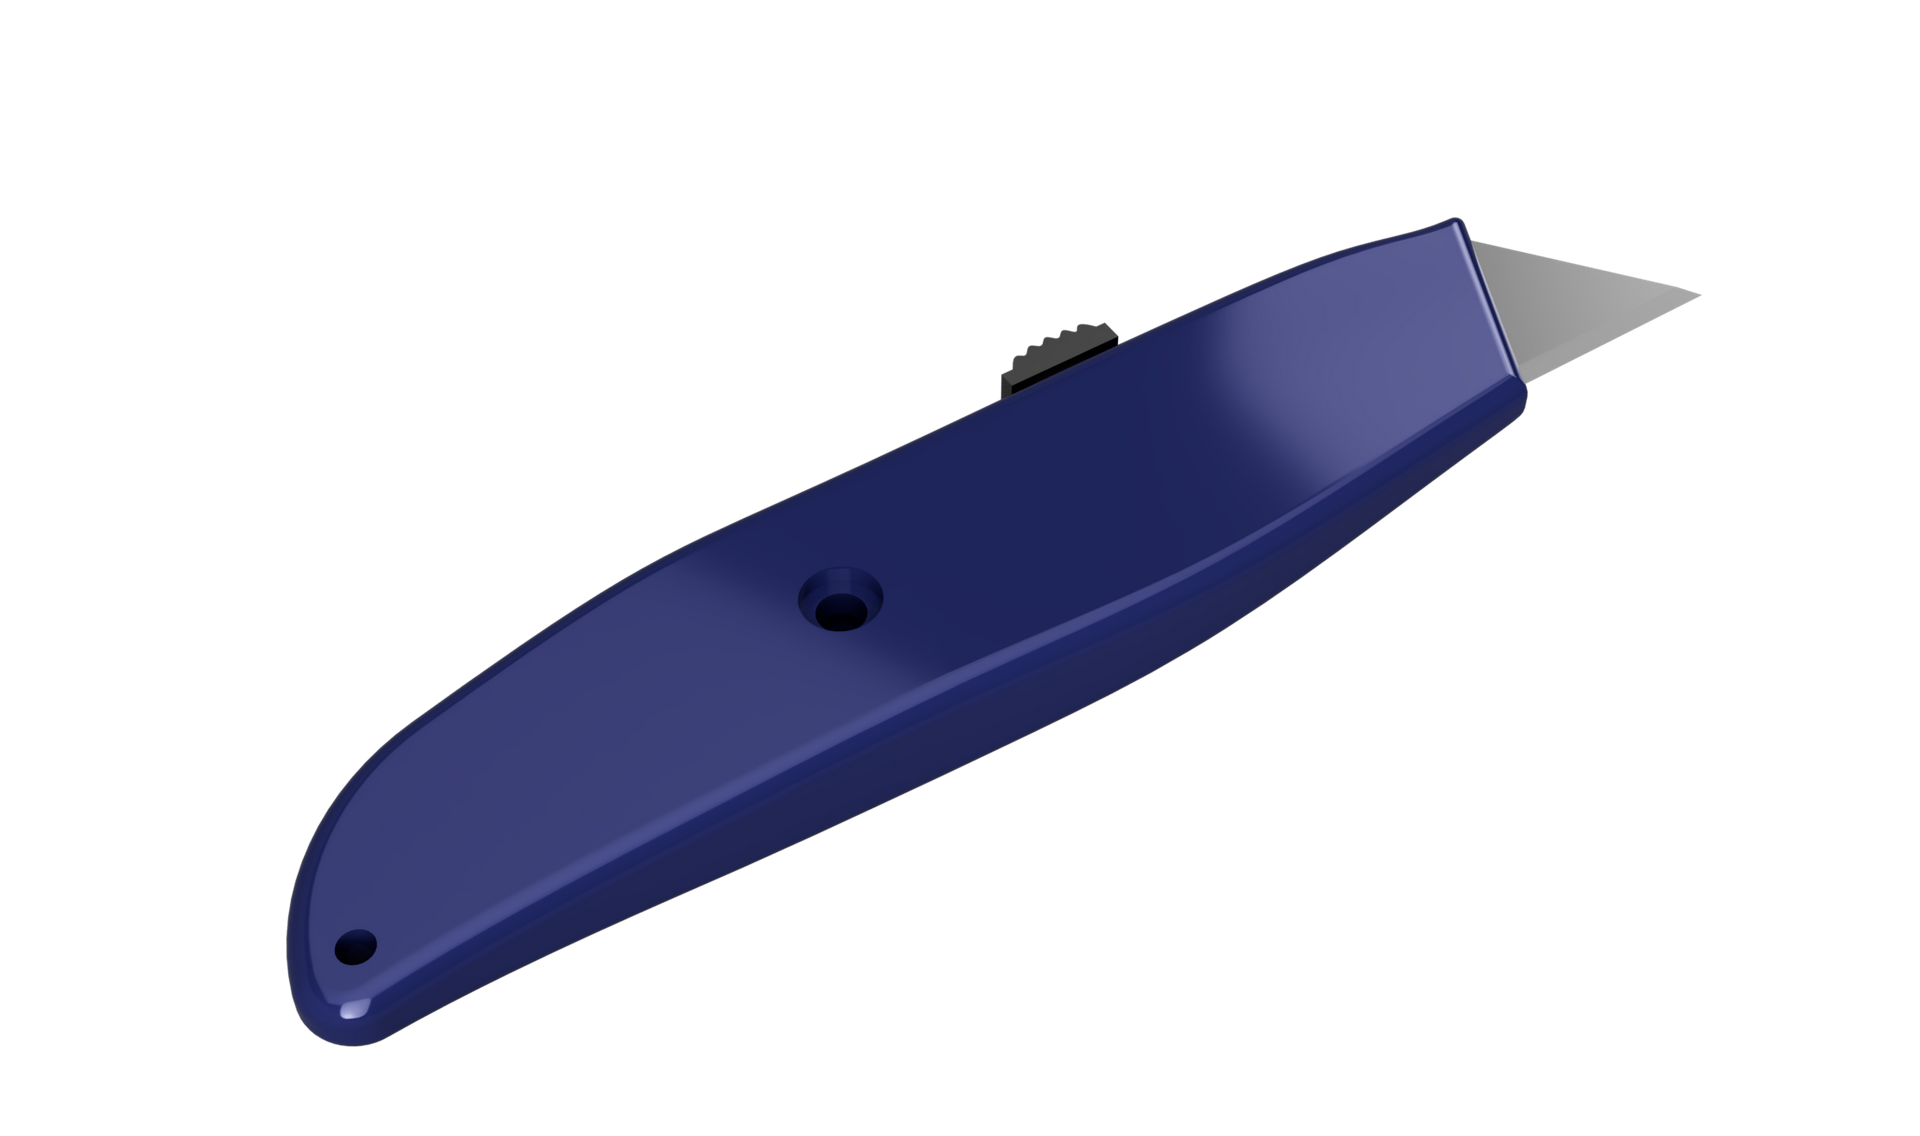
Next I filleted the top and bottom face to make the case look less blocky. I also used the appearance tool to be able to change the color of the case.
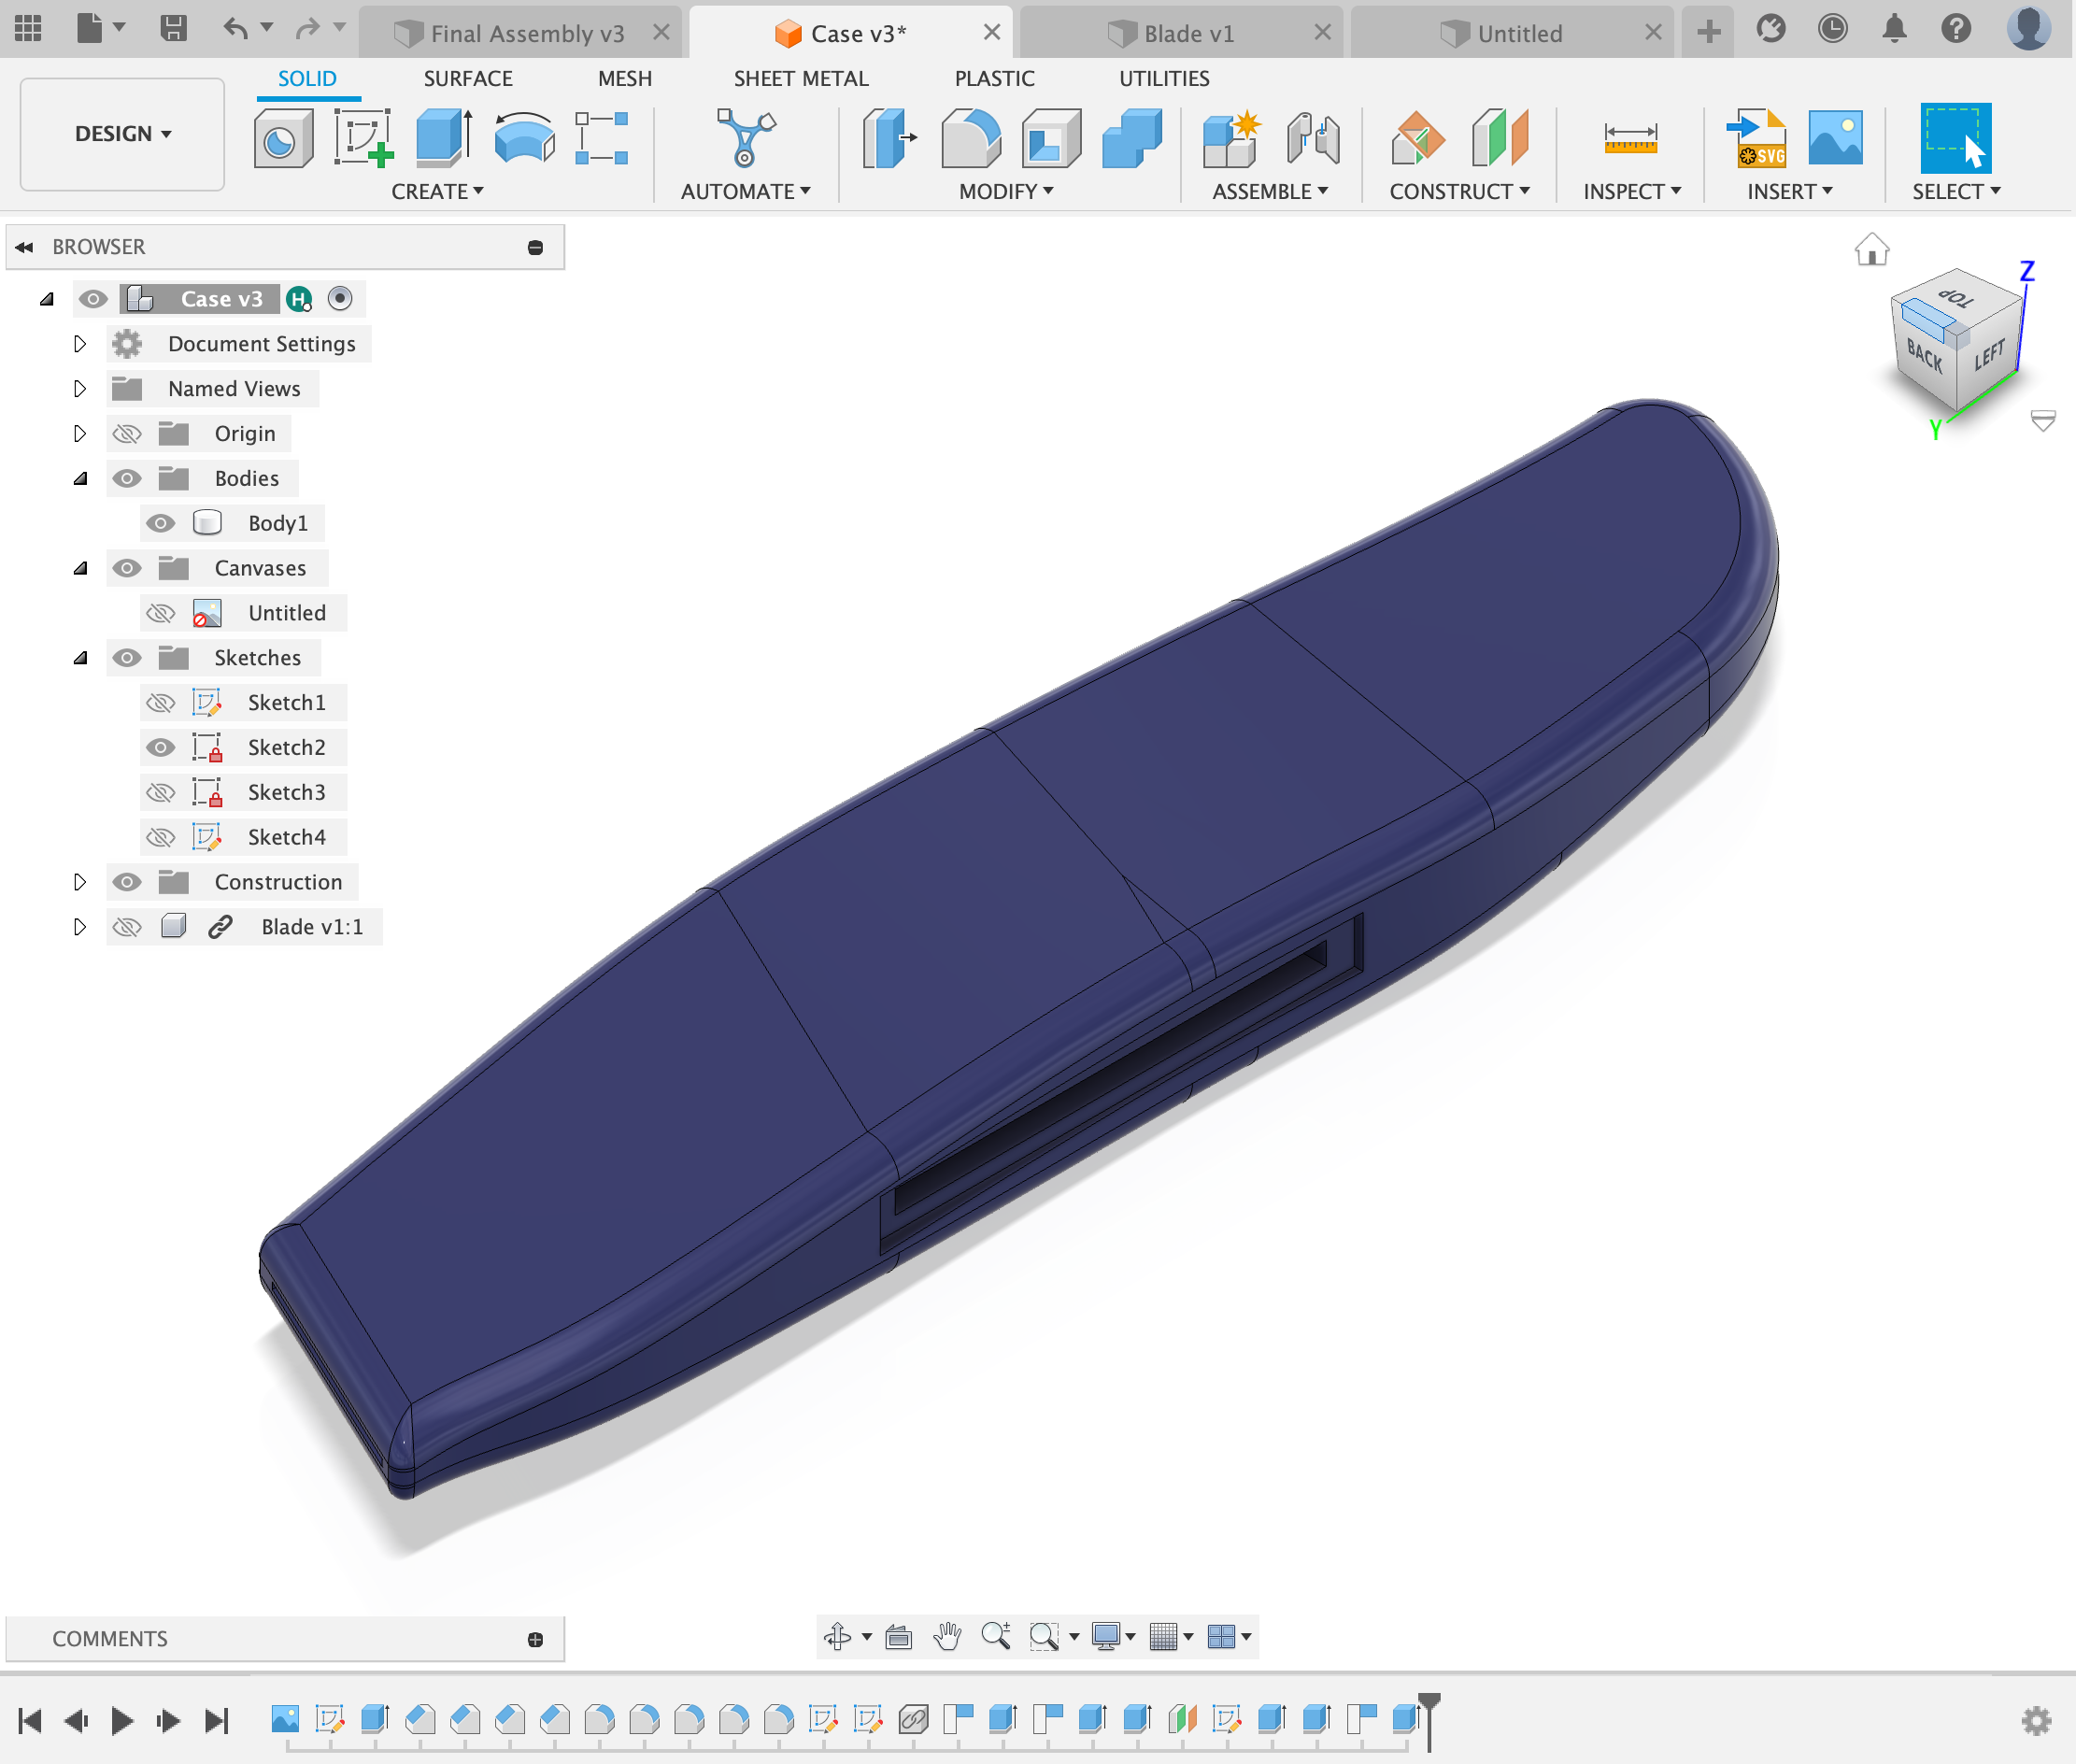
The box cutter has a handle on the top that retracts and expands the blade. That handle is housed in a gap in the box cutter. Using a caliper I measured the gap and added the gap to the case.
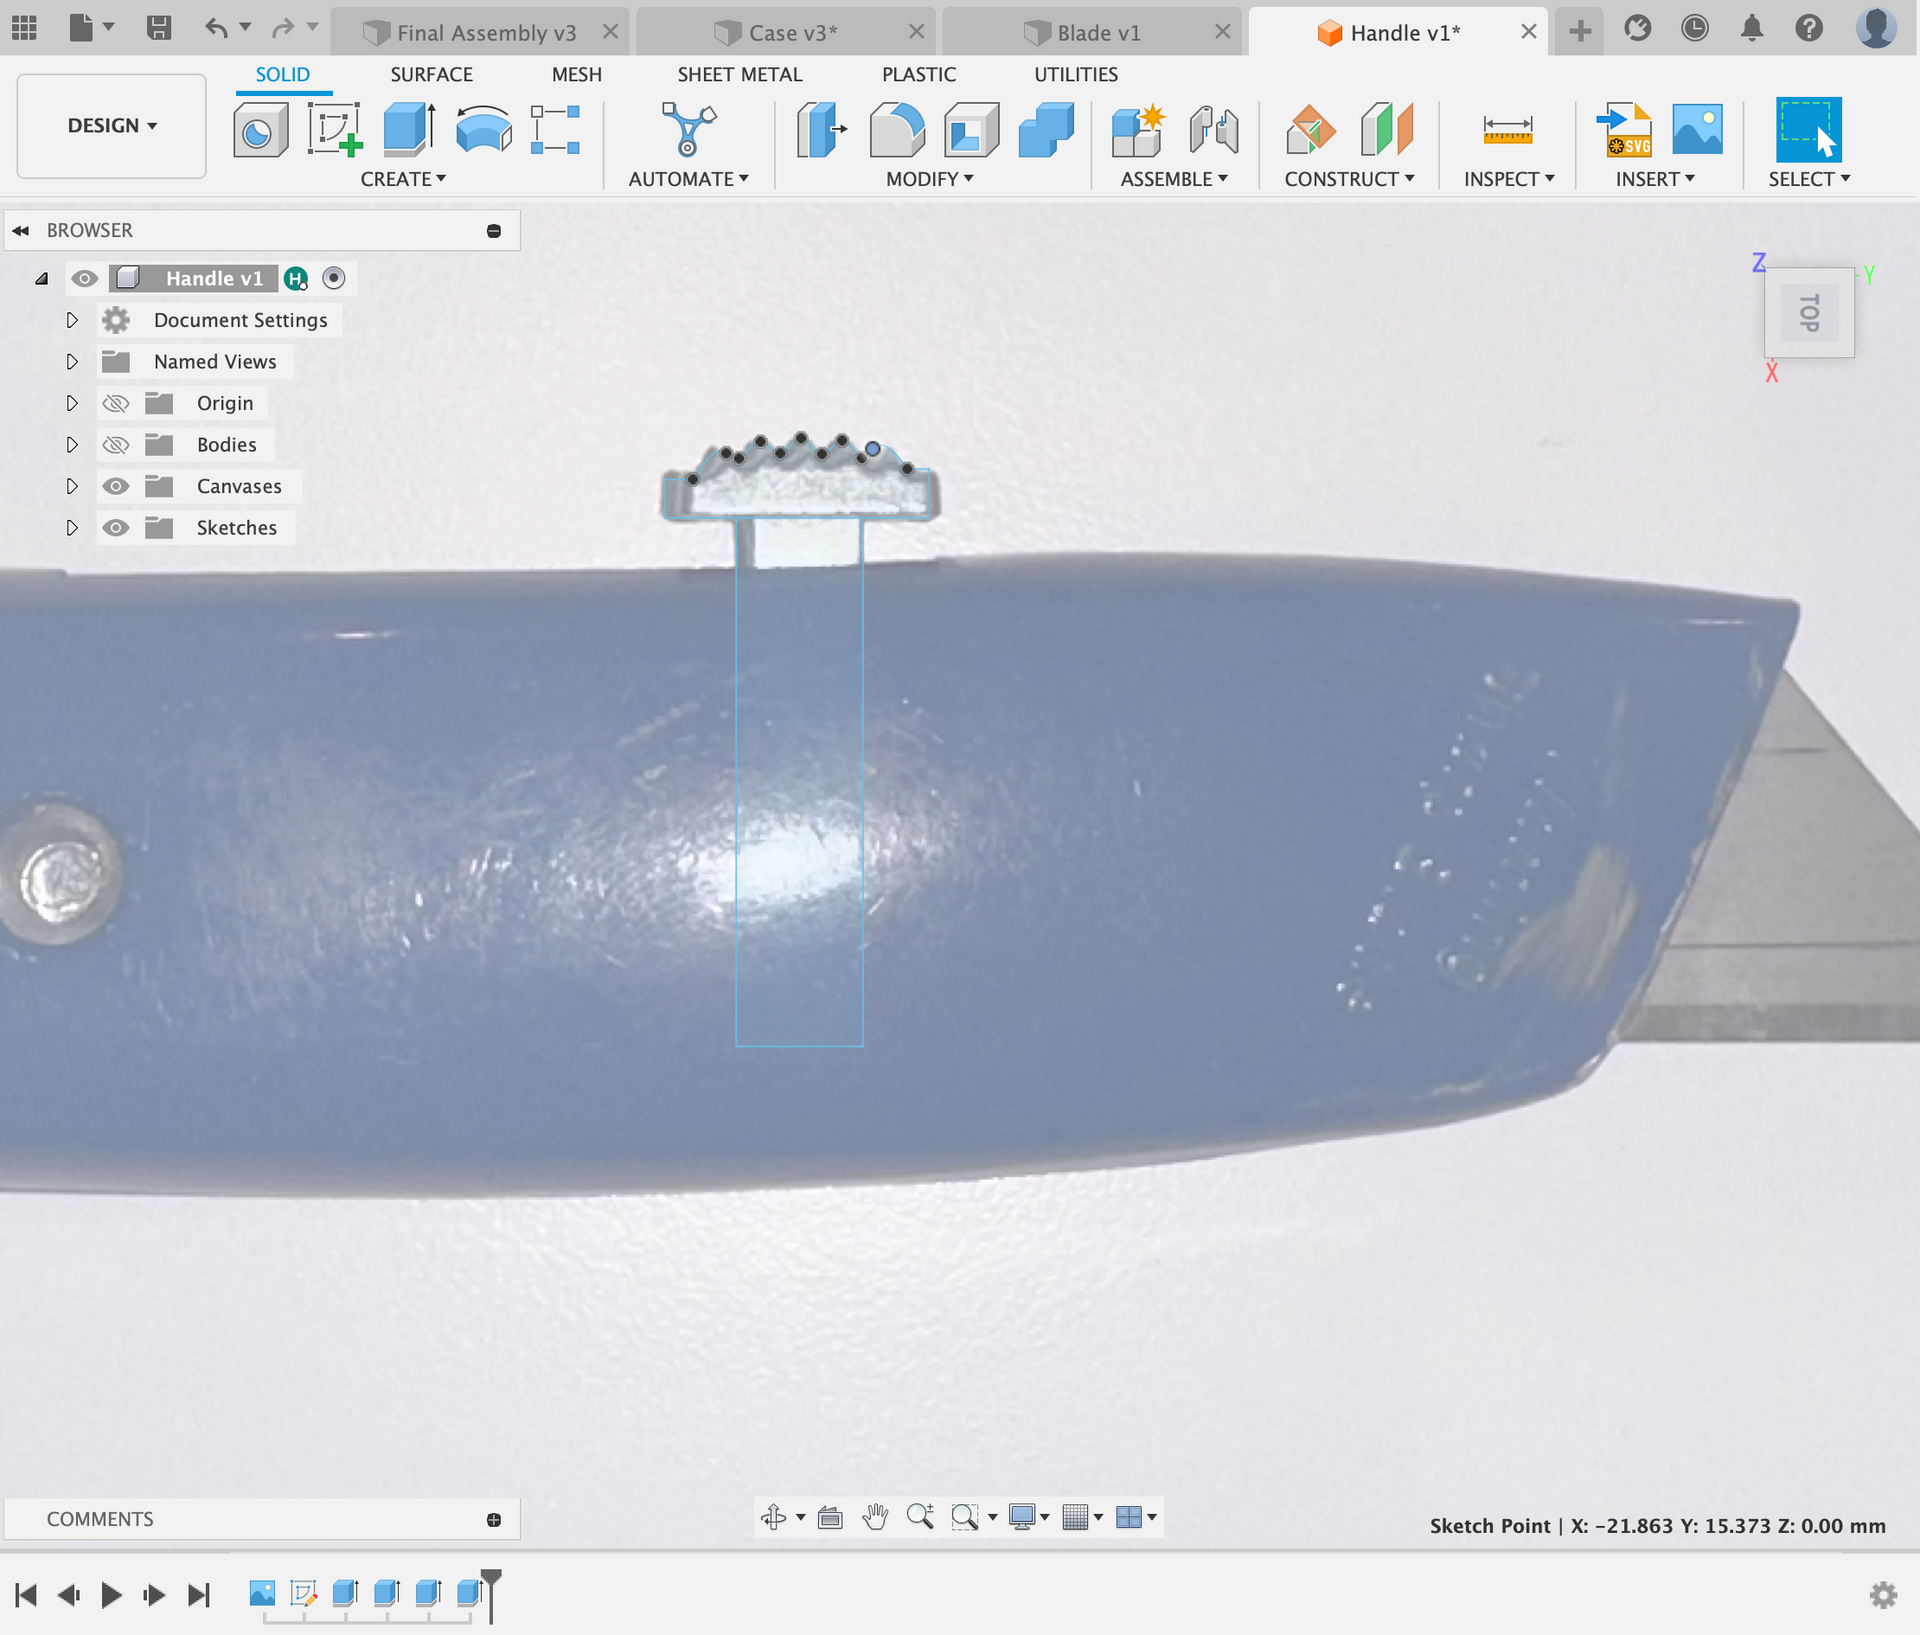
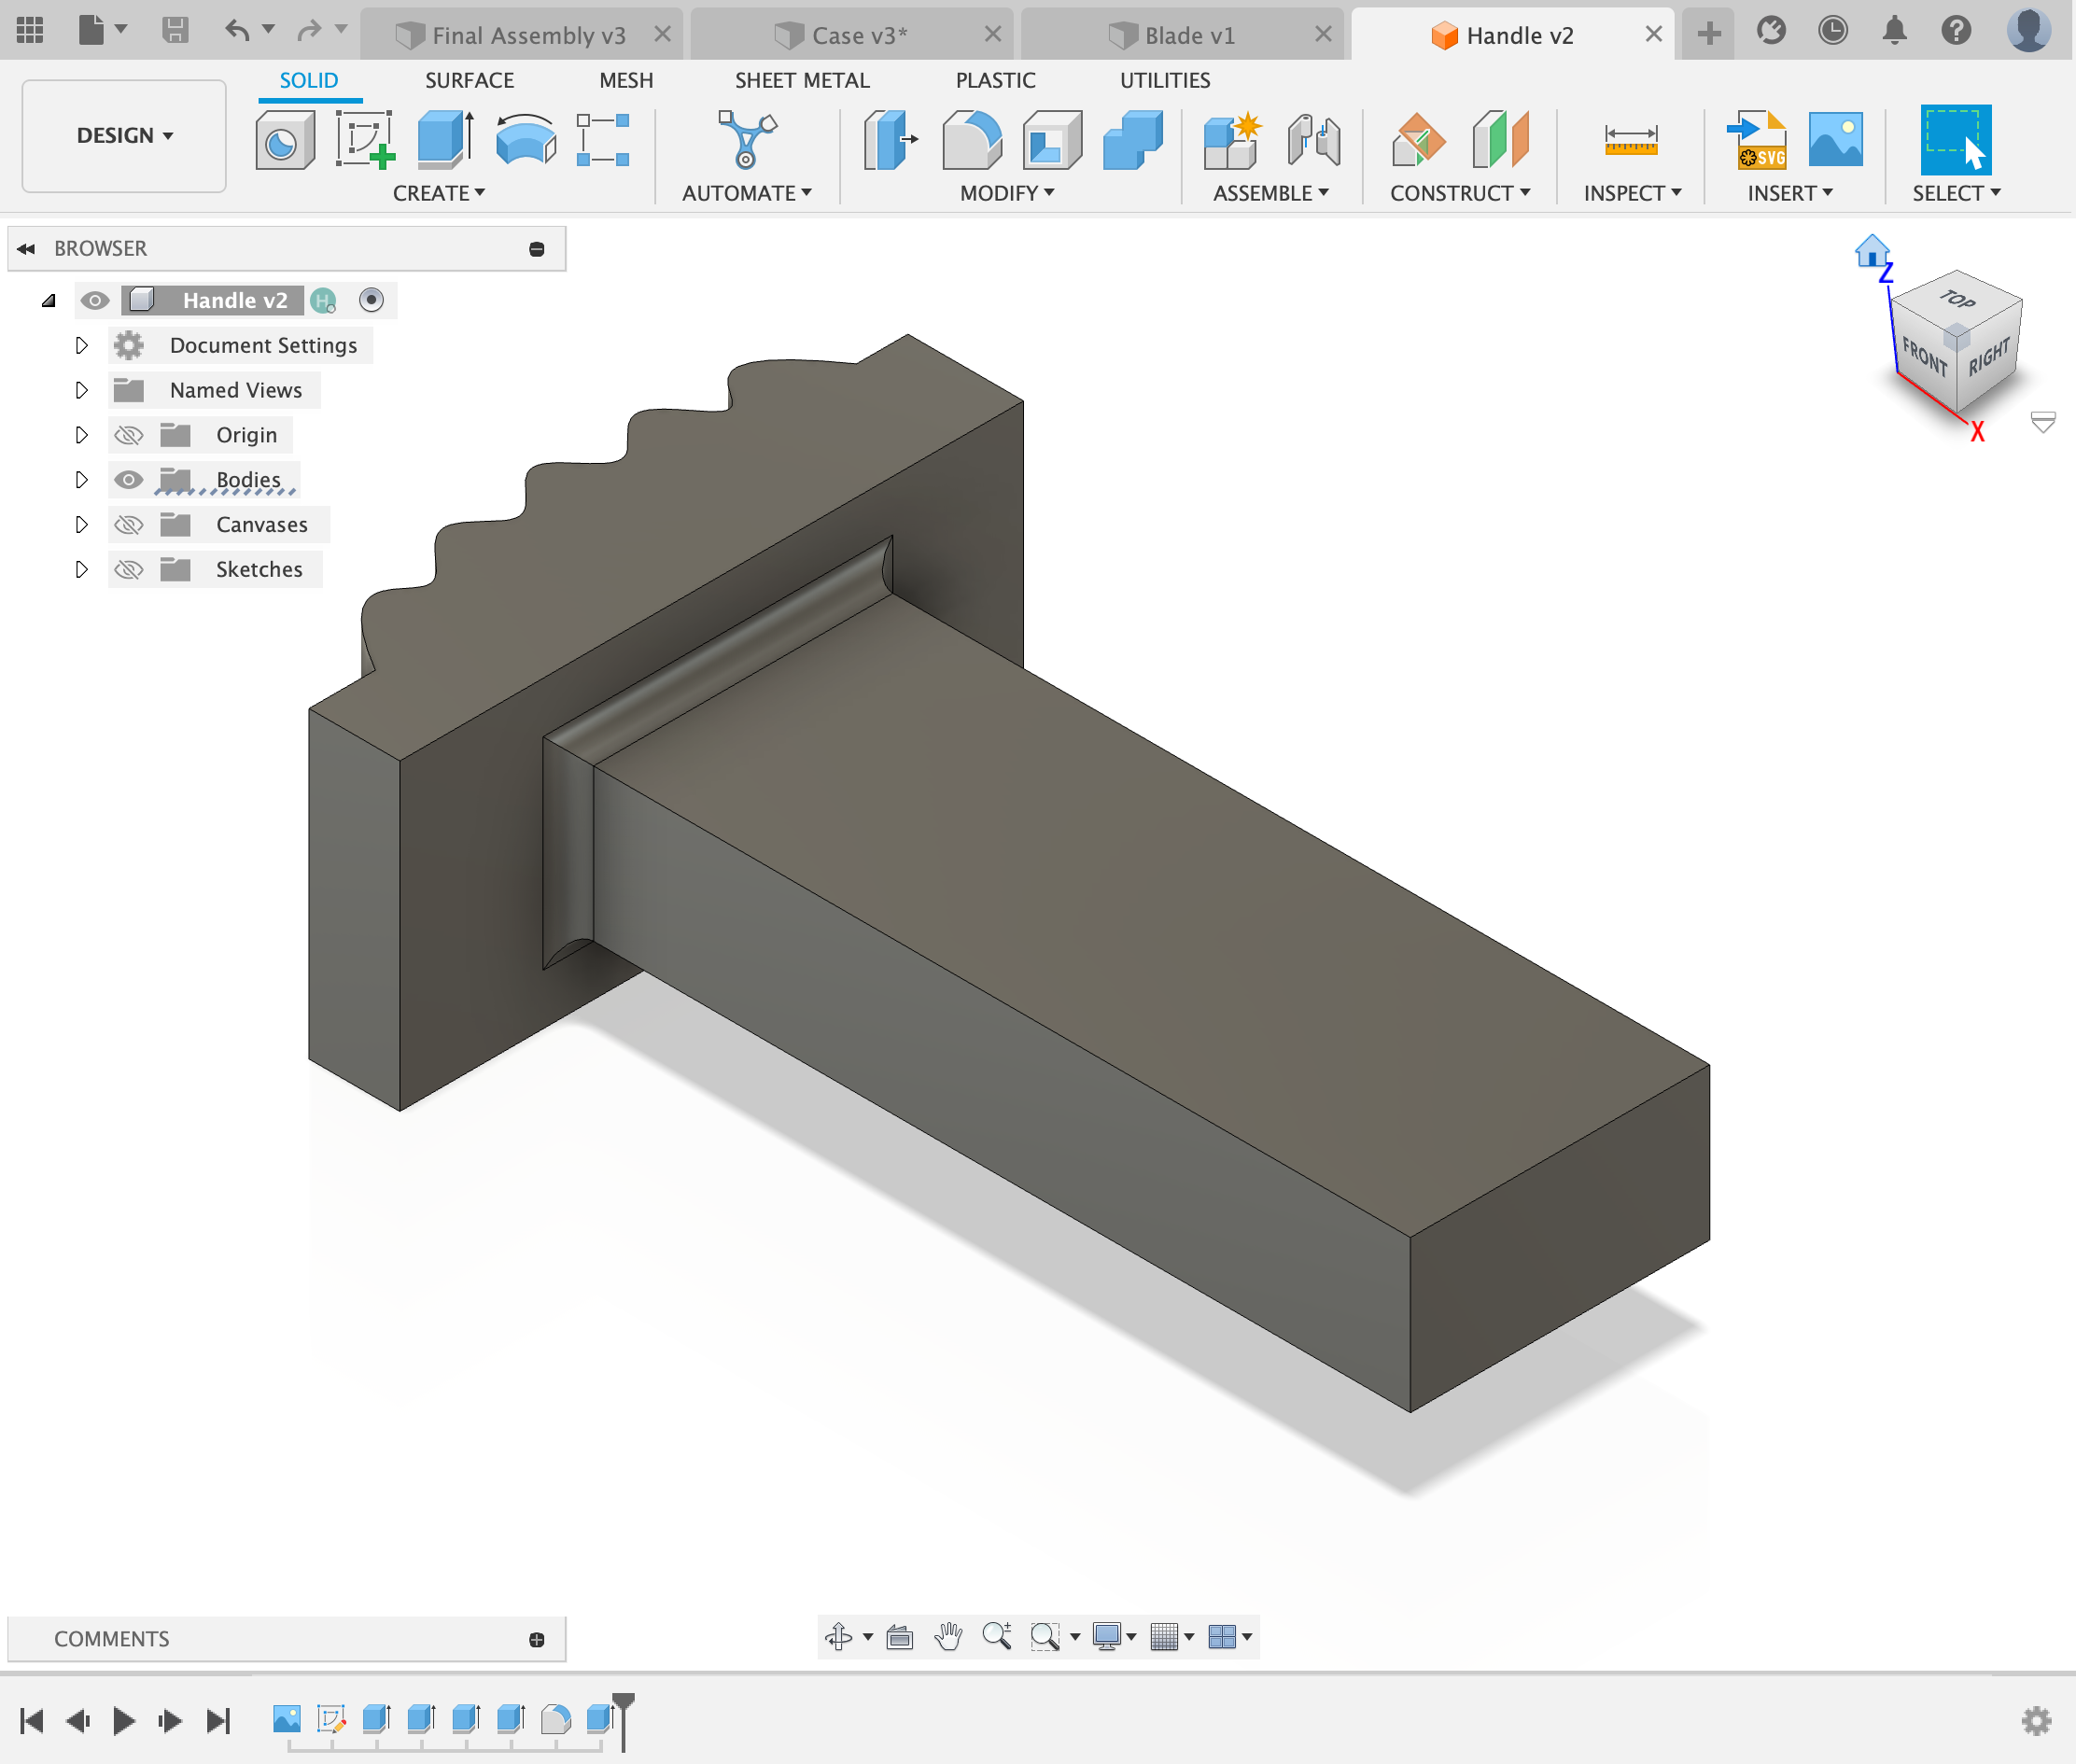
Now that I had the gap for the handle added into the case, I worked on the actual handle. I used the same picture to trace the handle and then extruded the sketch. I used a caliper to measure the thickness of the handle and used those values for my extrusion.
As the blade is generic for most box cutters, I decided to use CAD I found online for the blade.
https://grabcad.com/library/razor-blade-2
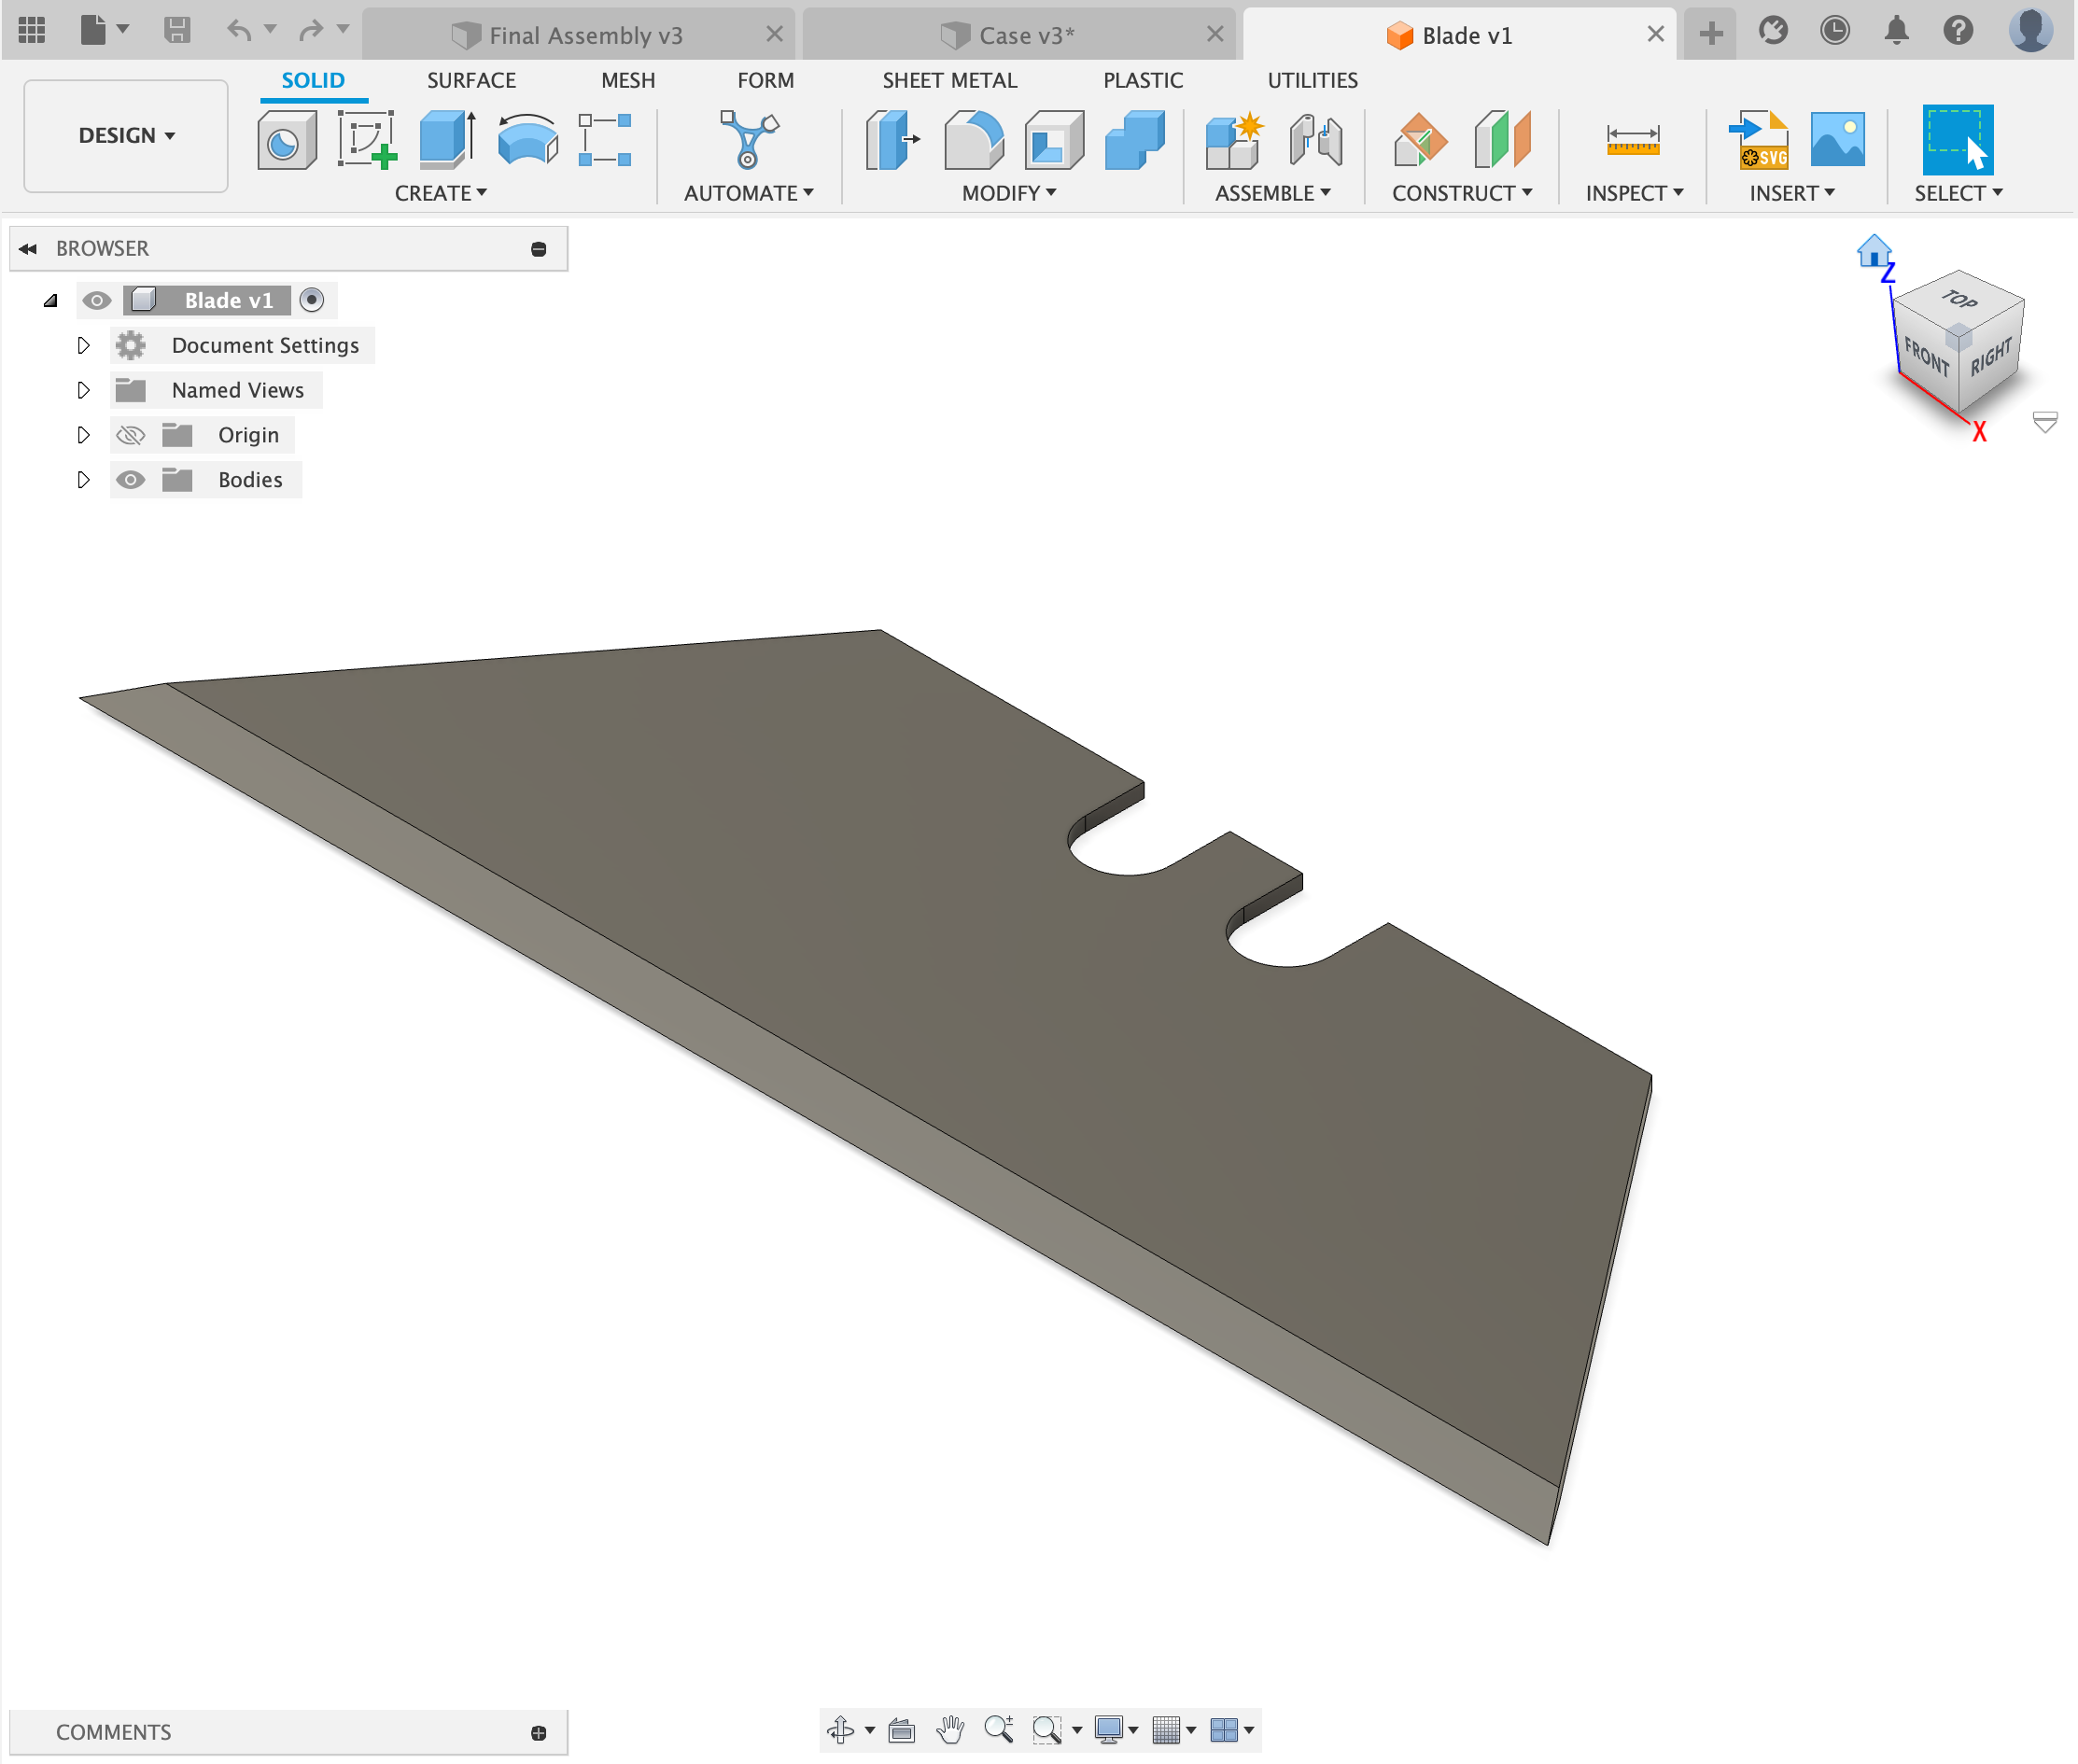
Next I created a slot in the case for the blade to rest and I jointed all of the parts together. I added the blade and the handle in their respective slots and tried to add motion for the blade to actually retract and expand but eventually failed.
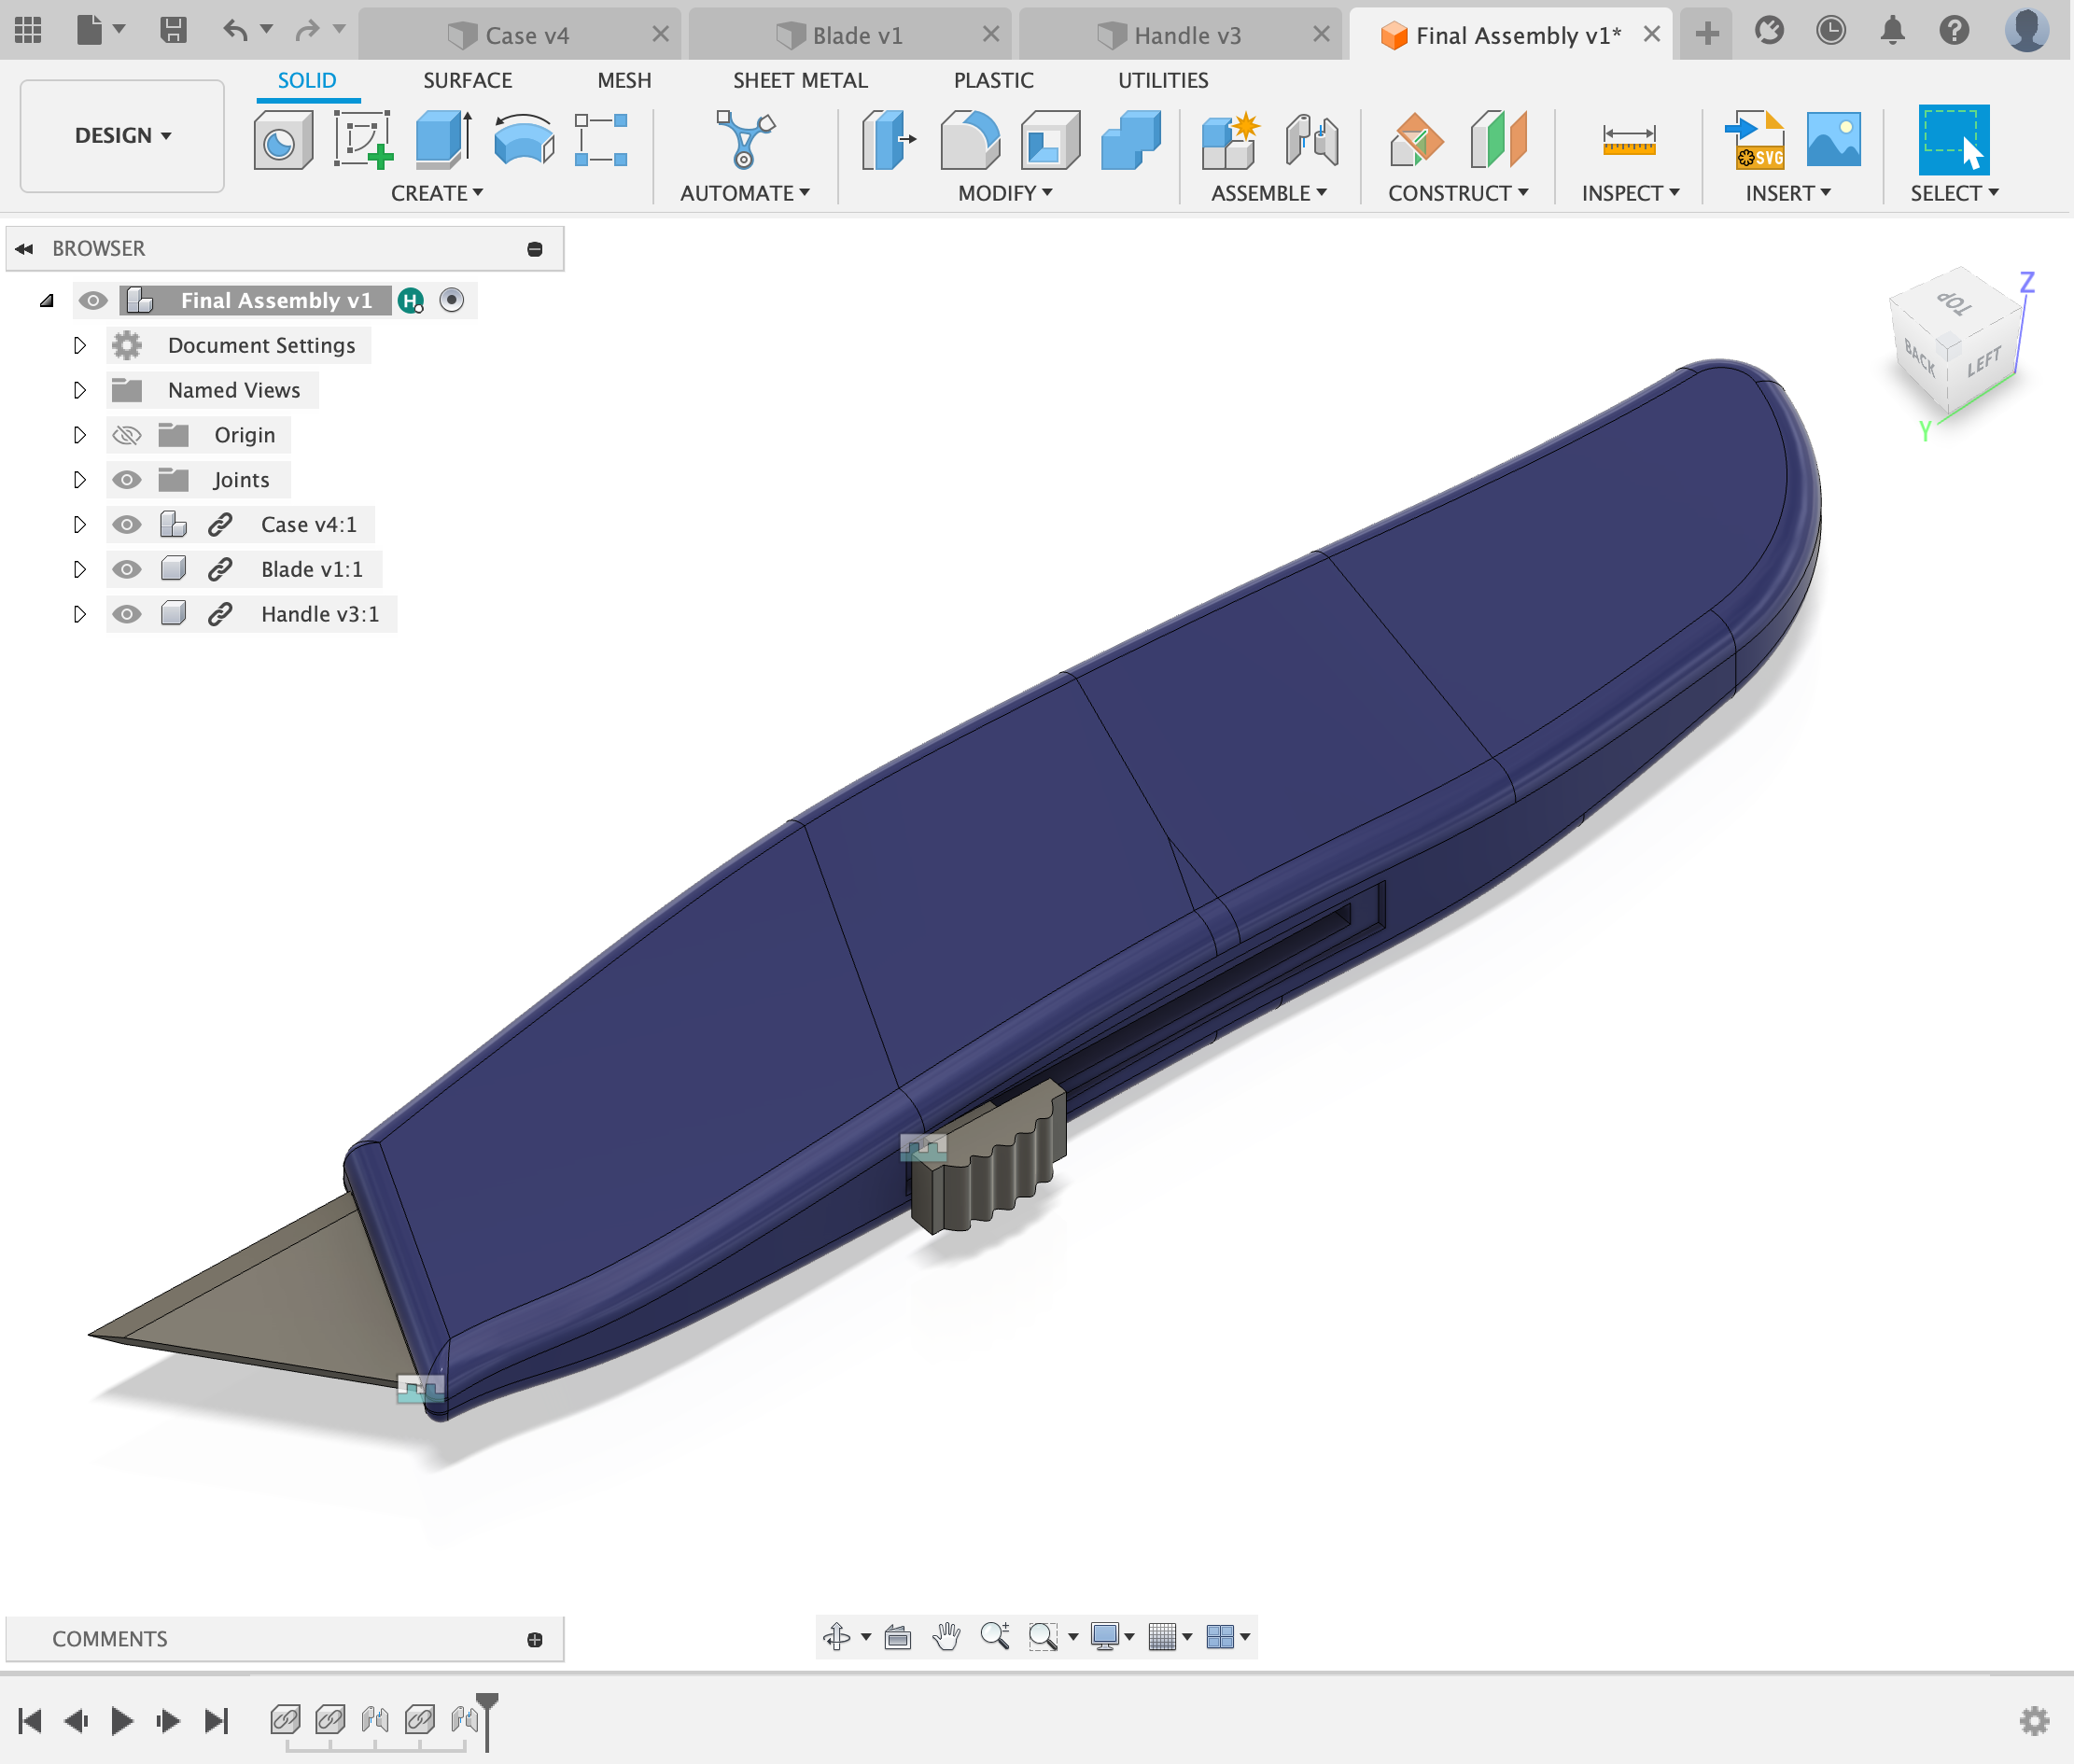
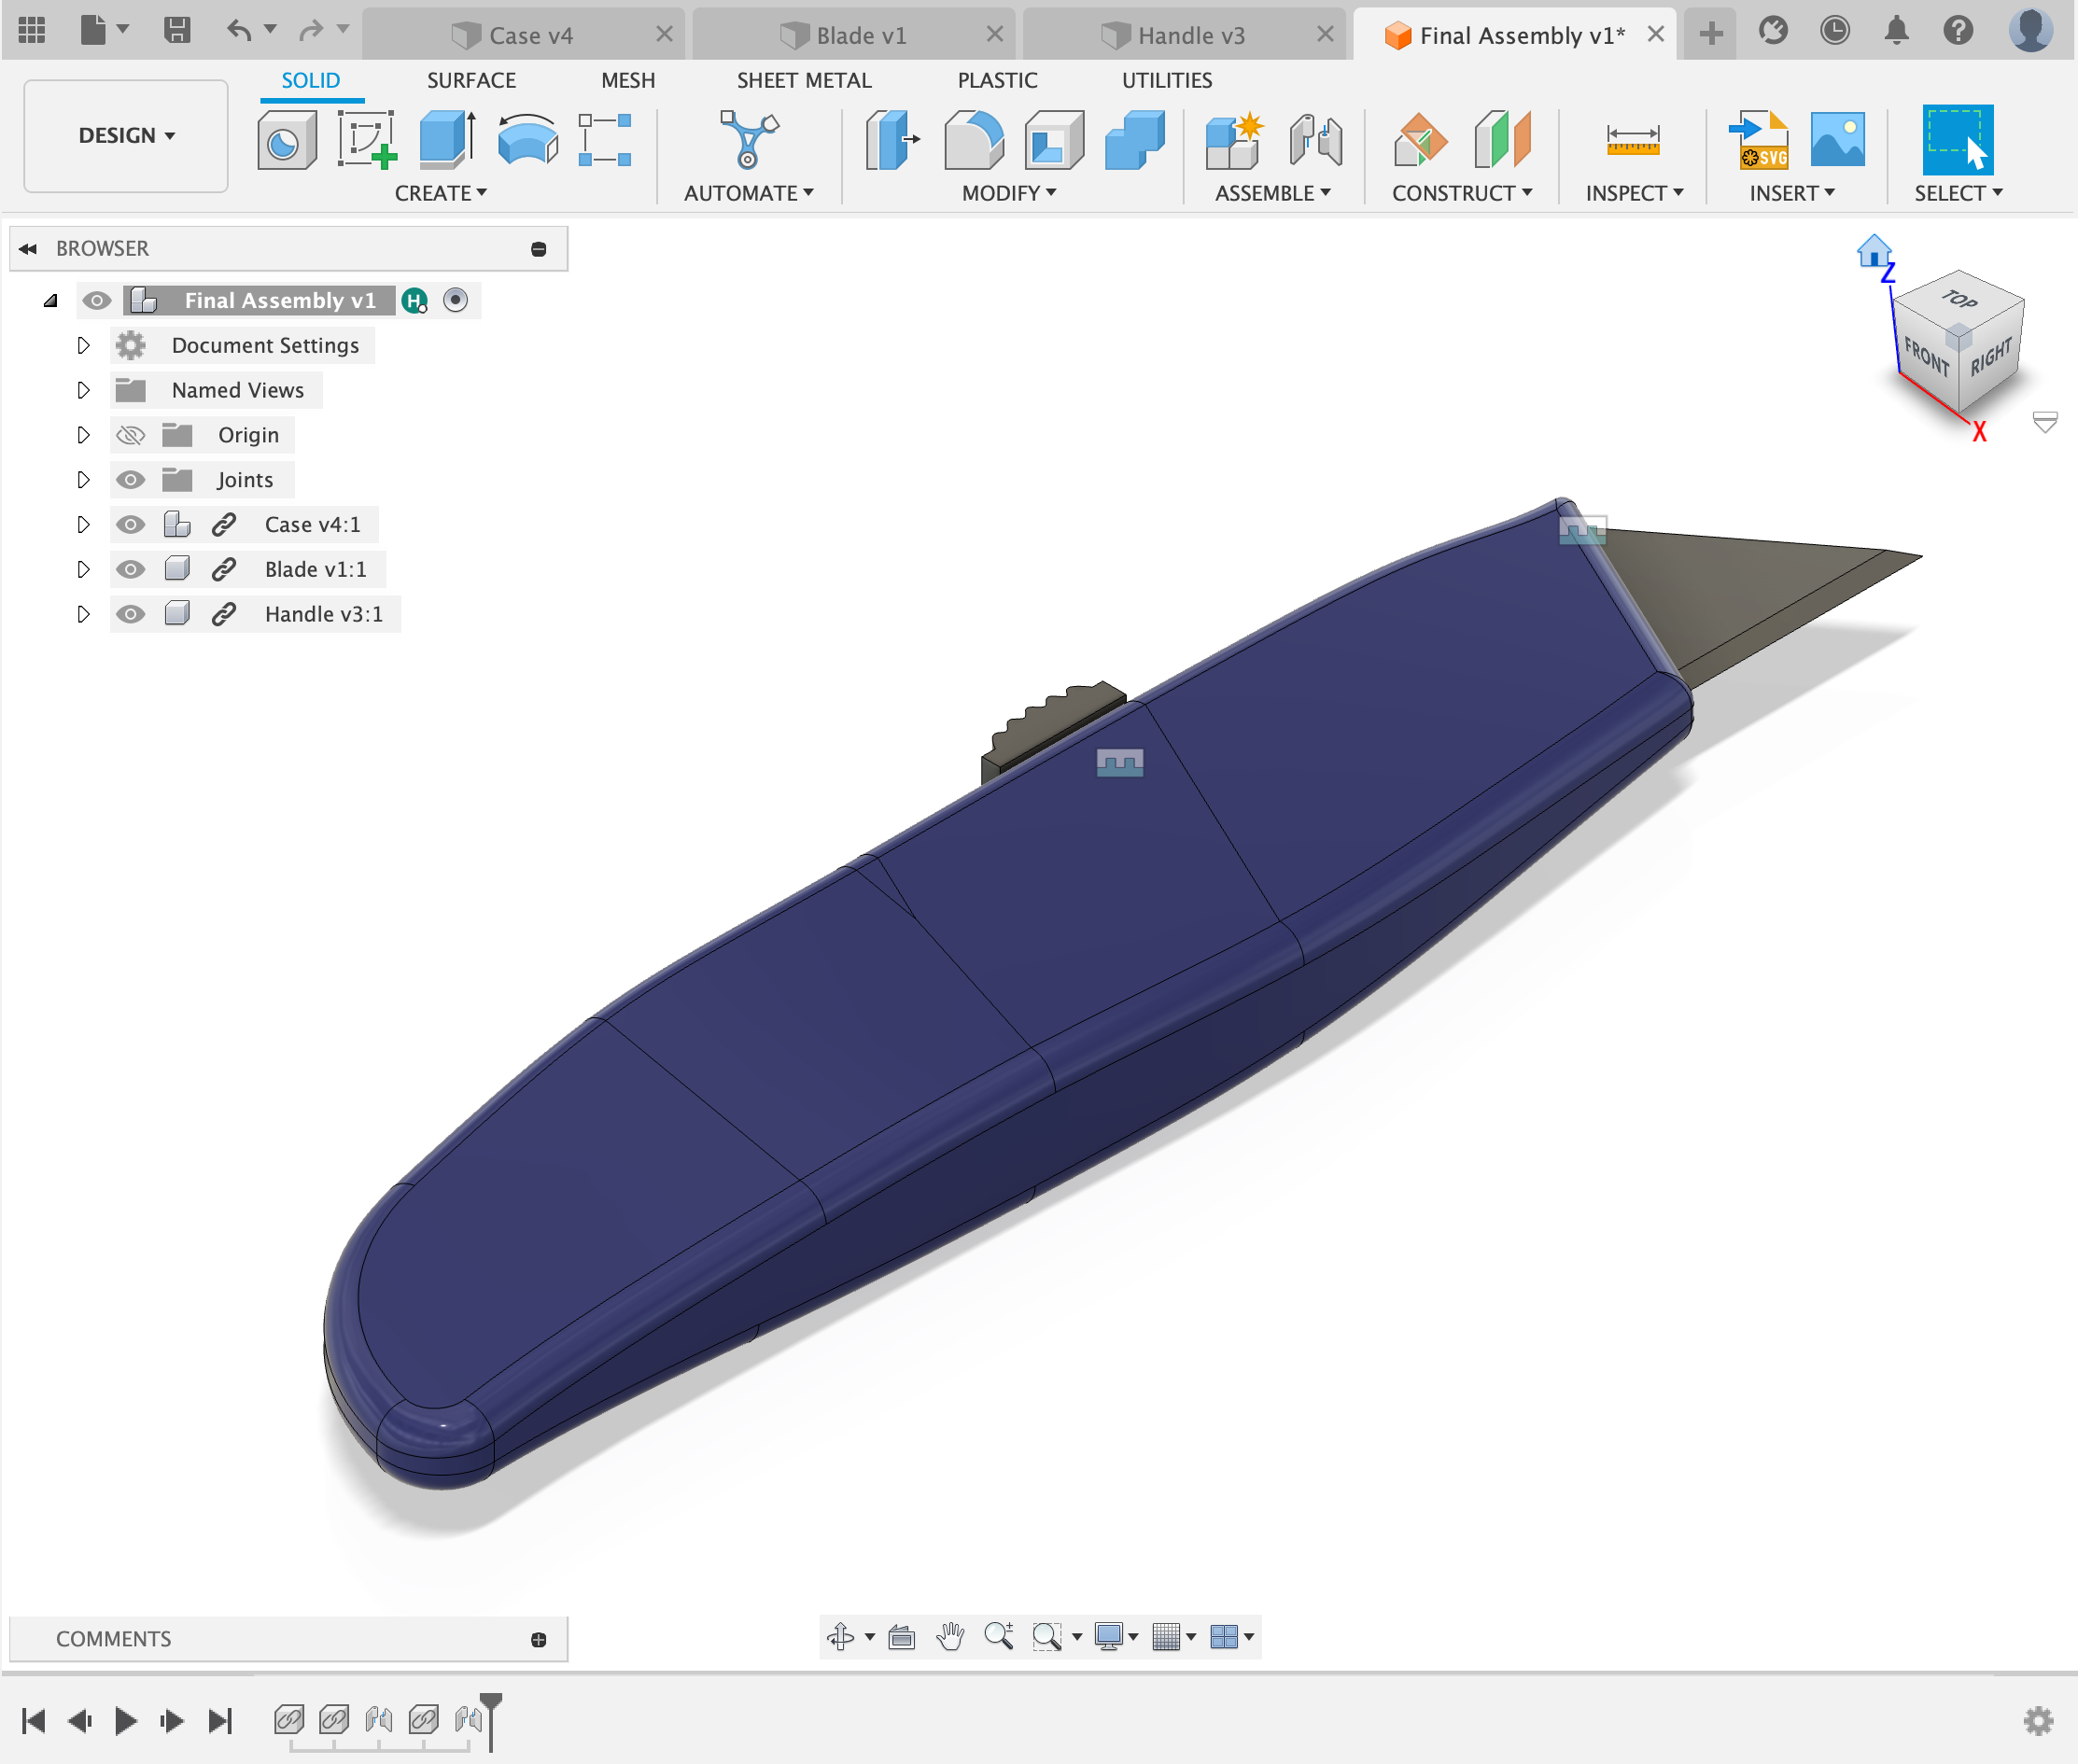
In the end, I was happy about what I had created as it looks almost Identical to what the box-cutter looked like in real life.